If you’re applying to a college music, theater, or dance program, your pre-screen audition video is often the first thing faculty see. It’s your first impression—and in many cases, the deciding factor in whether or not you're invited to a live audition.
So how do you make your video stand out from the thousands colleges receive each year?
The good news: you don’t need a fancy setup or expensive gear. What you need is clarity, confidence, and attention to detail. These eight essential tips will help you create a video that’s not only professional—but personal.
1. Plan Out the Shoot
Treat your pre-screen like the real audition it is. Before filming, review each school's requirements carefully. Some ask for specific slates (introductions), others have limits on file types, lengths, or repertoire order. Create a checklist of everything you need—pieces, introductions, formats—before you record.
✅ Pro Tip: Do a dry run with all your equipment to check timing, lighting, and sound.
2. Pay Attention to Lighting and Appearance
Good lighting is essential. Film in a space where your face and body are clearly visible—natural light is great but add lamps or soft light panels if needed. Avoid dark corners or overhead lights that cast shadows.
You don’t need heavy makeup, but make sure you’re well-groomed and camera-ready. A clean, alert appearance shows professionalism and readiness.
3. Balance Your Background and Sound
Where you record matters. Choose a quiet space with a simple, distraction-free background. One effective trick: tape a king-size sheet to the wall. Avoid patterns and pastels—stick with solid, bold colors like black, navy, forest green, deep purple, harvest yellow, periwinkle, or even hot pink. Make sure it’s well-ironed and frame the shot so the taped edges are completely out of view.
For sound, make sure your voice or instrument is clearly audible. If using accompaniment or a backing track, it should enhance—not overpower—your performance.
✅ Pro Tip: Do a sound check with headphones before recording.
4. Limit Your Takes
Don’t chase perfection—aim for presence and polish. Limit yourself to three takes per requirement, and choose the strongest one.
Trying over and over can drain your energy and often leads to overthinking. Remember: colleges want to see who you are, not a stitched-together, over-edited version of you.
5. Know Where to Look
Your eye line makes a big difference on camera.
- When delivering your slate or introduction, look directly into the camera—this builds a sense of connection and confidence.
- For songs or monologues, look just slightly off to one side of the camera, as you would in a live audition.
- Reading from music or a script? Don’t use a music stand—it can block your face and distract the viewer. Instead, set up a TV or monitor at eye level, connected to your computer via HDMI. Load your music or script onto the screen and use it like a teleprompter so you can stay focused and maintain good posture and eye contact.
- If the material is particularly challenging or not fully memorized, consider asking someone from your high school ensemble—or a friend who reads music well—to operate the teleprompter for you. They can scroll or advance the music in real time, helping you stay on track and avoid awkward breaks in focus.
✅ Pro Tip: Keep your gaze steady and your energy engaged. Your audience—on screen or off—can always tell when you're truly present.
6. Stay in Frame
Many performance pieces include movement, so it’s important to define your performance space before recording. Mark the floor with tape to create boundaries and run through your piece once to make sure you don’t step outside the camera’s view.
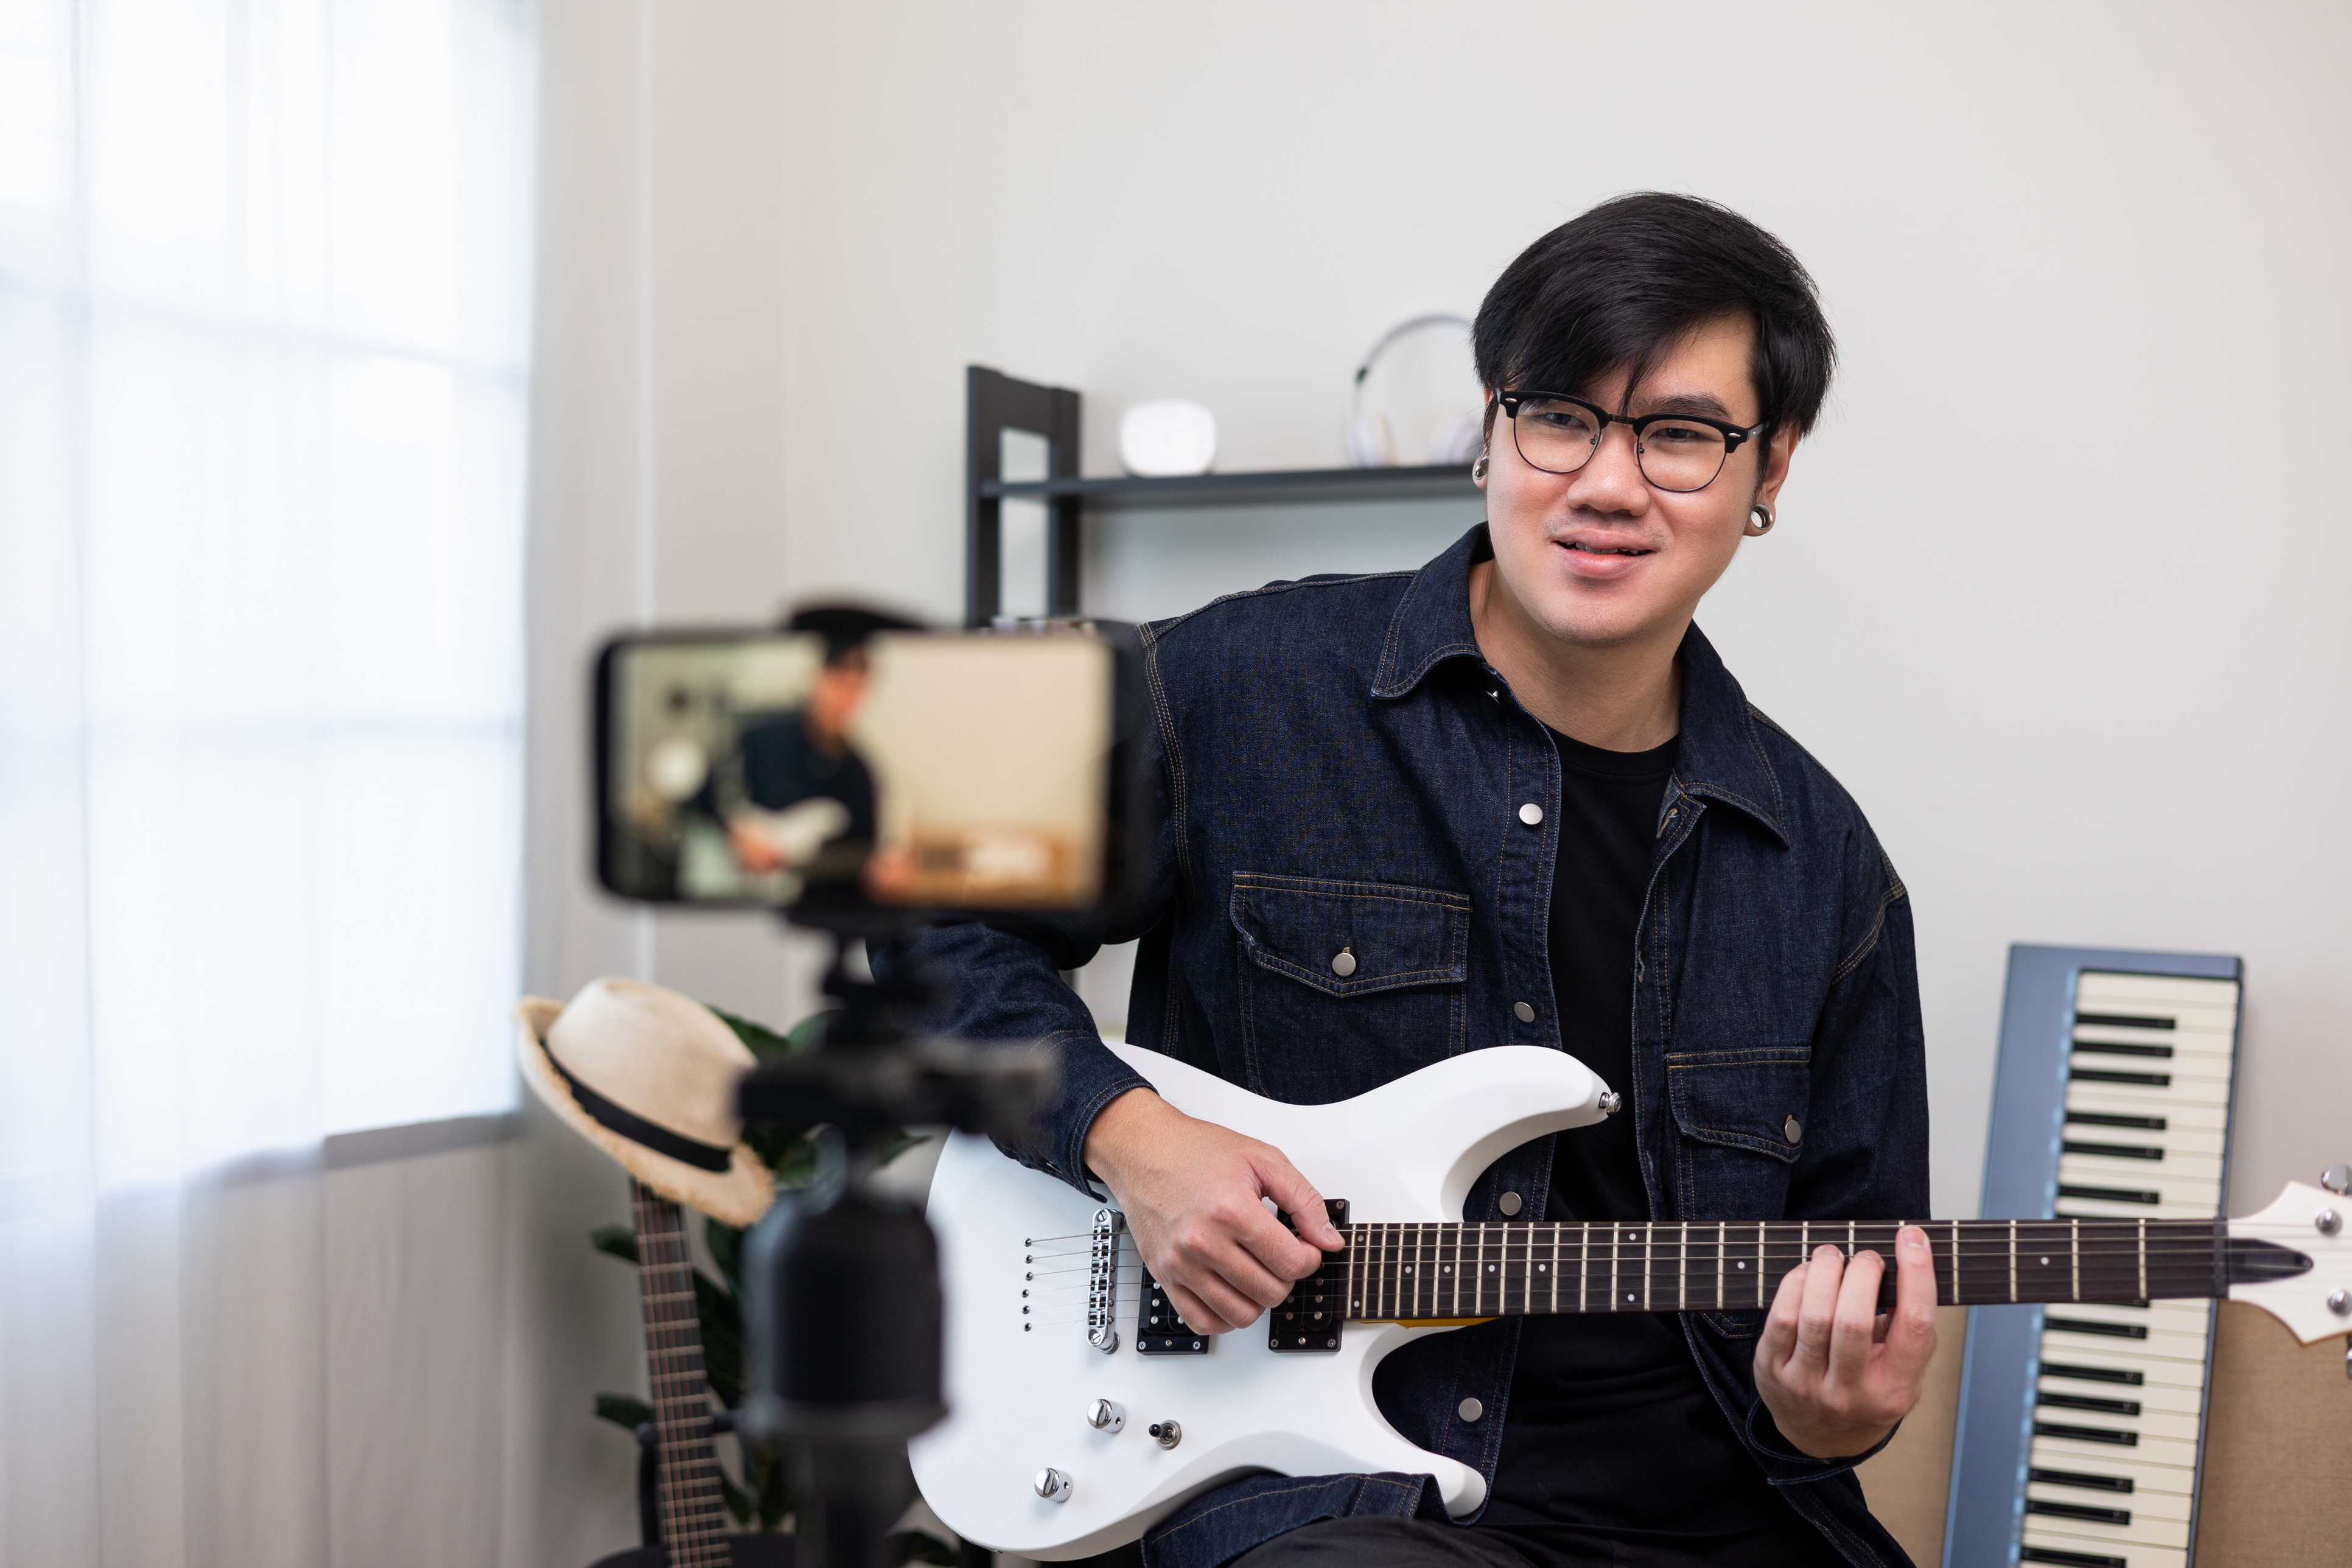
Good news: you don’t need a professional camera. Most smartphones—iPhone or Android—have high-quality cameras that work perfectly for pre-screen auditions. In fact, you can tape your phone directly to the top of your TV or monitor if you’re using it as a teleprompter. Just make sure the camera lens is unobstructed and aimed at your full body.
The key is to keep the camera steady throughout the entire performance. Never place it in someone’s hands—they’ll never be as steady as a fixed position. Use a tripod or an inexpensive tabletop stand (most cost less than $15) to ensure a stable shot from start to finish.
✅ Pro Tip: No panning, zooming, or moving shots. Keep the camera level, centered, and stationary.
7. Double-Check Framing Rules
Each school may have slightly different preferences when it comes to how you’re framed on screen. Most prefer a full-body shot—which means head to toe, with space above and below—especially for vocalists, actors, and dancers.
Check each school’s website for framing instructions and adjust your camera setup accordingly. Avoid close-ups unless specifically requested.
8. Present Yourself Professionally
Think of your video as a performance and a portfolio.
- Include a small, non-intrusive title overlay at the bottom of your screen with your name, city, state, and high school. This helps reviewers connect your video with your application instantly.
- Stick with a full-body shot unless the school says otherwise. Use a single camera, from the front, no editing—schools want a continuous, uncut performance.
- Attire matters. Wear solid colors that contrast with your background—you don’t want to blend in.
- Ladies: A classic black dress with simple jewelry or a tasteful pop of color is always appropriate.
- Gentlemen: A black suit (no tux needed), with an open-collared shirt or a black/white shirt and traditional tie, is both professional and accepted.
Dress like you're walking into a live audition—because essentially, you are.
Quick Pre-Screen Checklist
- ✅ Clean, distraction-free background (sheet is ironed & well-taped)
- ✅ Great lighting—face and body are clearly visible
- ✅ Clear, balanced sound
- ✅ Solid-colored attire that contrasts with the background
- ✅ Name, city, state, and school visible on screen
- ✅ Full-body shot unless school says otherwise
- ✅ No edits, one continuous take
- ✅ Eye contact appropriate to each section
- ✅ Three takes max per requirement
- ✅ Optional: teleprompter setup and operator if needed
- ✅ Smartphone or camera is mounted, not handheld
Final Note: Let Them See the Real You
Your pre-screen audition video is more than a requirement—it's a chance to make a meaningful connection before you ever step on campus. Schools aren’t looking for robots or perfection. They're looking for potential, passion, and professionalism.
So smile. Breathe. Stand tall.
And show them what you’ve worked so hard to become.

.png) ARTICLE GLOSSARY
ARTICLE GLOSSARY

.png)
.png)
.jpg)
.jpg)
.jpg)
.png)

.jpg)
.png)




.jpg)


.jpg)
.jpg)
.jpg)
.jpg)
.jpg)
.png)
.png)
